
How to Use a YouTube Transcript for Blog Posts: A Simple Workflow
Learn how to use a YouTube transcript for blog posts: get the transcript, clean it up, outline it, write a readable draft, and optimize it for search.
Bento Team · October 20, 2026
TL;DR
- A blog post reaches readers and searchers that your video alone can miss.
- Clean the raw transcript of filler words and false starts before you write.
- Outline the main idea, quotes, and topics, then match the format to the video type.
- Add your keyword, embed the video, and check every fact before you publish.
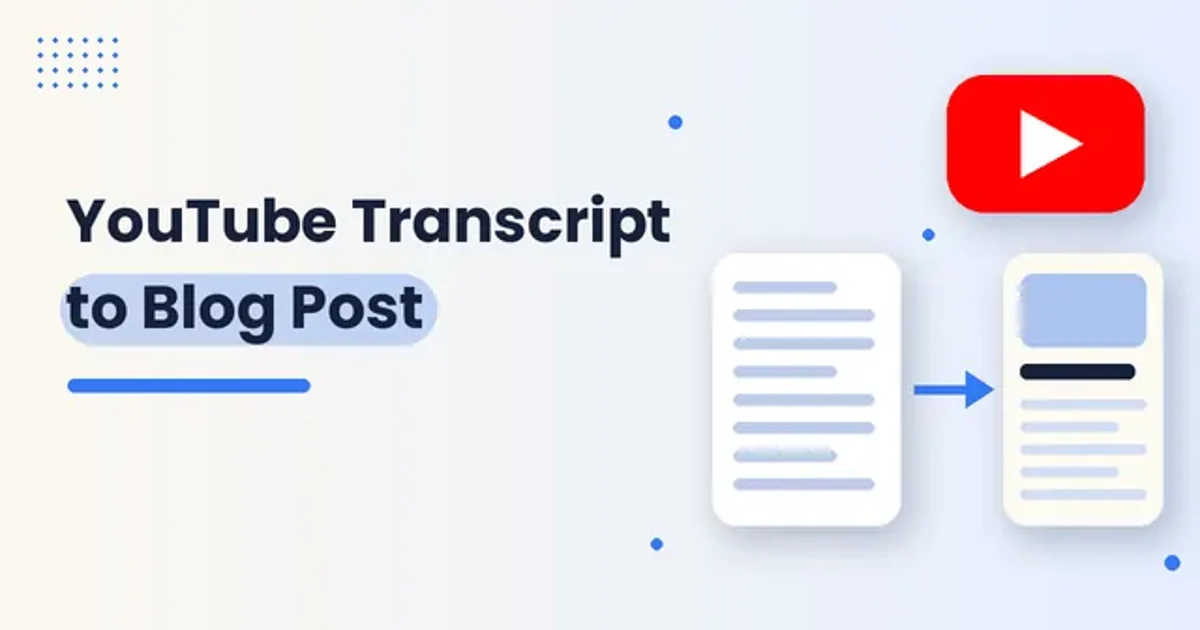
If you publish videos on YouTube, you already have a pile of written ideas sitting inside every upload. A transcript turns what you said on camera into text you can shape into a blog post, a newsletter, or a set of social posts. This guide walks through how to use a YouTube transcript for blog posts, from getting a clean transcript to publishing a readable article that people can find in search.
Why turn your videos into blog posts
Blog posts rank in Google while videos rank in YouTube, and the two reach different audiences with different search behaviors. Some people prefer reading, some want to skim, and some are at work and cannot watch a video with sound, so a blog post catches all of them.
Written content can also target long-tail keywords that video titles cannot capture, and each blog post creates a new indexed page that grows your organic footprint. Google can read a blog post word by word, which it cannot do with video audio.
With one video, you already have content you created. If you leave the transcript unused, that value disappears, but if you repurpose it as blog posts, tweets, and LinkedIn articles, you multiply its impact.
One longer video can produce a blog post, a tweet thread, a newsletter recap, and podcast show notes with timestamps. Written content is also easier to reference, quote, and link to than a moment buried in the middle of a video.
Step one: get the transcript
There are several easy ways to get the transcript of a YouTube video, from YouTube's built-in viewer to free online tools and browser extensions.
If you want a quick option, Bento's YouTube transcript generator turns a video link into text you can copy into your draft. Whichever method you use, save the transcript in a plain document next to the video title and link, so you can find it again when you write.
Step two: clean up the raw text
Raw transcripts are messy because spoken language is not written language. You will find filler words, false starts, repetitions, and rambling tangents that work in a conversation but read badly in a blog post.
An AI model can clean this up if you ask it to remove filler words, false starts, and repetitions, fix grammar and punctuation, keep the speaker's voice and key phrases intact, and add no new information.
Read the cleaned version once before moving on. Check names, product terms, and any claims you made on camera, and fix anything the cleanup changed by mistake. This is the step where accuracy is easiest to protect.
Step three: pull out the structure
A simple flow is to get the transcript, extract the hooks, and then turn them into formats. Pick the main idea, notable quotes, and segments for clips, then use those building blocks to draft the blog post before you spin off tweets, quotes, and clips.
The Cornell Notes method can help here. List topics from the transcript on one side, write summary cues or questions on the other side, and write a summary of the main point at the bottom, which gives you structure when turning the transcript into blog content.
Step four: write the draft
A good draft has a title that includes your target keyword, an introduction that hooks the reader, H2 sections based on the major topics discussed, short paragraphs, bullet point lists where they help, and a conclusion with a clear takeaway.
Match the format to the video type. Tutorial videos become step-by-step how-to posts, interviews become a Q&A or key takeaways article, presentations become a summary of the key slides and arguments, and product reviews become a structured comparison or review.
AI-generated blog posts can all sound the same, generic, safe, and bland, so keep the speaker's personality. If the person in the video uses humor or has strong opinions, keep them, so the post feels like it came from that same person in written form.
Dedicated tools follow a similar idea, turning a video transcript into a blog post while enhancing readability, preserving the video's spirit and perspective, introducing SEO elements, and creating headlines, intros, and conclusions.
Step five: optimize and publish
Put your primary keyword in the title, the first paragraph, and at least two headings, sprinkle related keywords naturally through the content, and write a meta description under 160 characters that includes the keyword. Blog posts with embedded videos improve both text and video SEO, so embed the original video in the post.
Before you publish, link the post back to the video and add a link to the post in the video description. Readers can then move between formats, and each piece sends attention to the other.
A repeatable transcript to blog workflow
Use this checklist each time you turn a video into a post. It keeps the process quick without skipping the edits that make the article worth reading.
- Pick a video with a clear topic that people search for.
- Get the transcript and save it with the video title and link.
- Clean the text so filler words, false starts, and repeats are gone.
- Outline the main idea, the best quotes, and the major topics.
- Draft the post in the format that matches the video type.
- Edit for voice and accuracy, then add your keyword and meta description.
- Embed the video, publish the post, and share it across your channels.
Where Bento fits
Bento is an open source creator business OS that brings a storefront for digital products, bookings, link in bio, and social scheduling into one place. Once your post is live, you can turn the same transcript into social posts with the transcript to social post tool, schedule them, and point your link in bio to the article or to the product it supports.
If you prefer to run everything yourself, the self-hosted edition is free under the AGPL license. Hosted plans start with a trial, so you can test the workflow before you commit. Either way, one video can keep feeding your blog, your social channels, and your store long after you hit upload.